Low Carb Chocolate Peanut Butter Cups

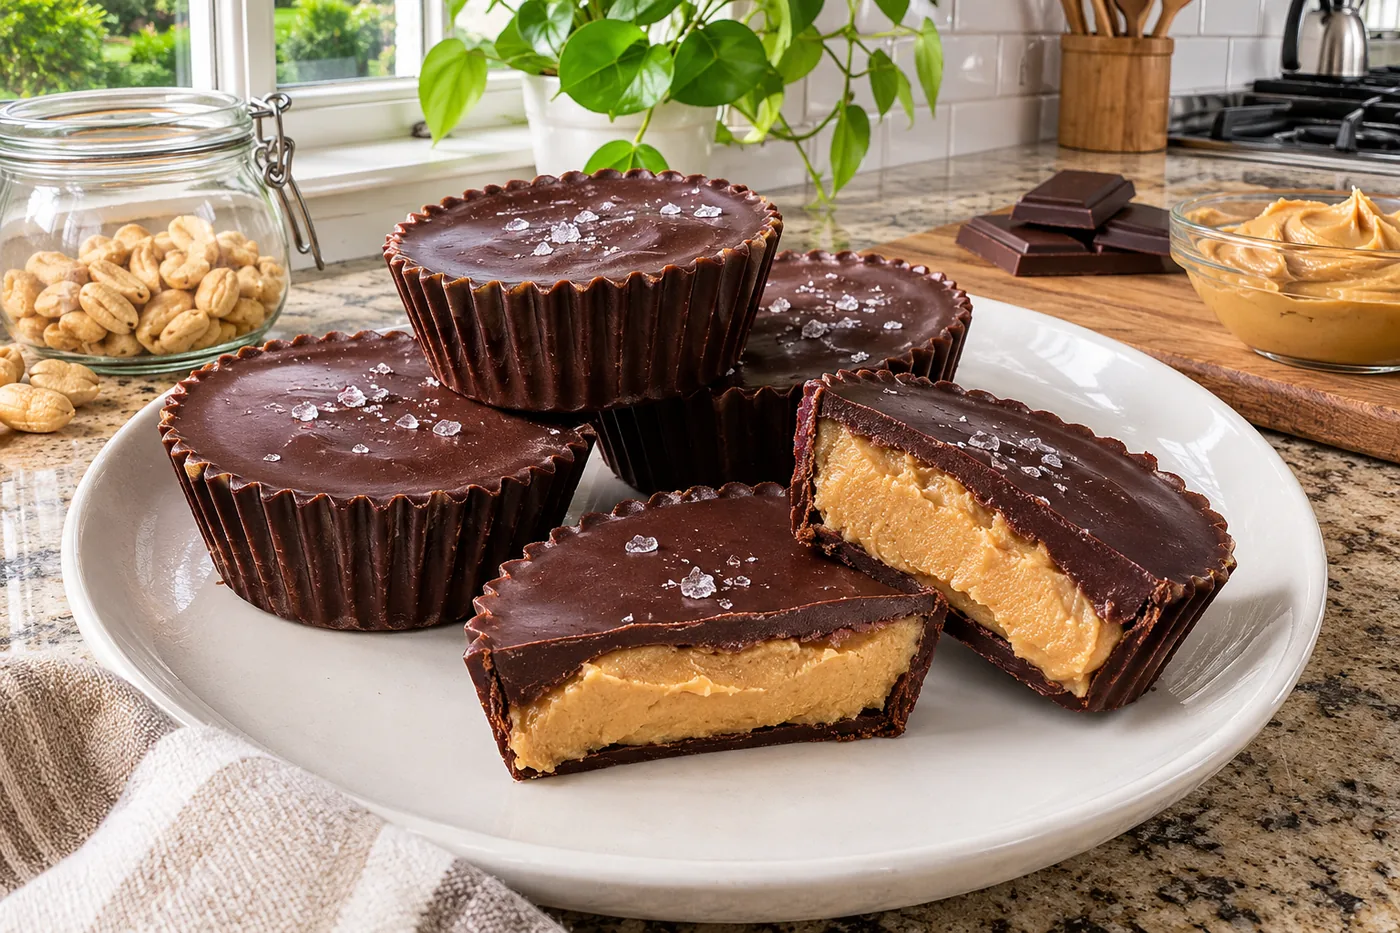
“Indulge in these rich and creamy low carb chocolate peanut butter cups that are easy to make and guilt-free.”
I remember the first time I made low carb chocolate peanut butter cups — my kitchen filled with the rich aroma of melting chocolate, and I couldn't believe how easy it was. These treats quickly became a favorite, satisfying my sweet tooth without the guilt of traditional candies.
What sets this recipe apart is its perfect balance of creamy peanut butter and rich chocolate, all while keeping the carbs low. You won't miss the sugar, and they’re so easy to make, making them the ultimate indulgence for any occasion.
Why This Recipe Works
- Smooth Peanut Butter Provides Creaminess: The natural peanut butter adds a rich, creamy texture that balances perfectly with the chocolate. Its fat content also contributes to a smooth mouthfeel, making each bite melt in your mouth.
- Coconut Oil Enhances Firmness: When melted and then cooled, coconut oil solidifies, giving these cups their structure. I found that using refined coconut oil results in a neutral flavor, allowing the peanut butter to shine through without coconut undertones.
- Cocoa Powder Adds Depth: Unsweetened cocoa powder not only brings a deep chocolate flavor but also interacts with the fats in the recipe, creating a smooth consistency. I experimented with different brands, and I really loved the richness of the Dutch-processed variety.
- Sweetener Balances Flavors: Using erythritol or stevia allows you to enjoy these treats without the carbs. I adjusted the amount based on my sweetness preference, and found that a little goes a long way in enhancing the overall taste.
Ingredients
What You'll Need
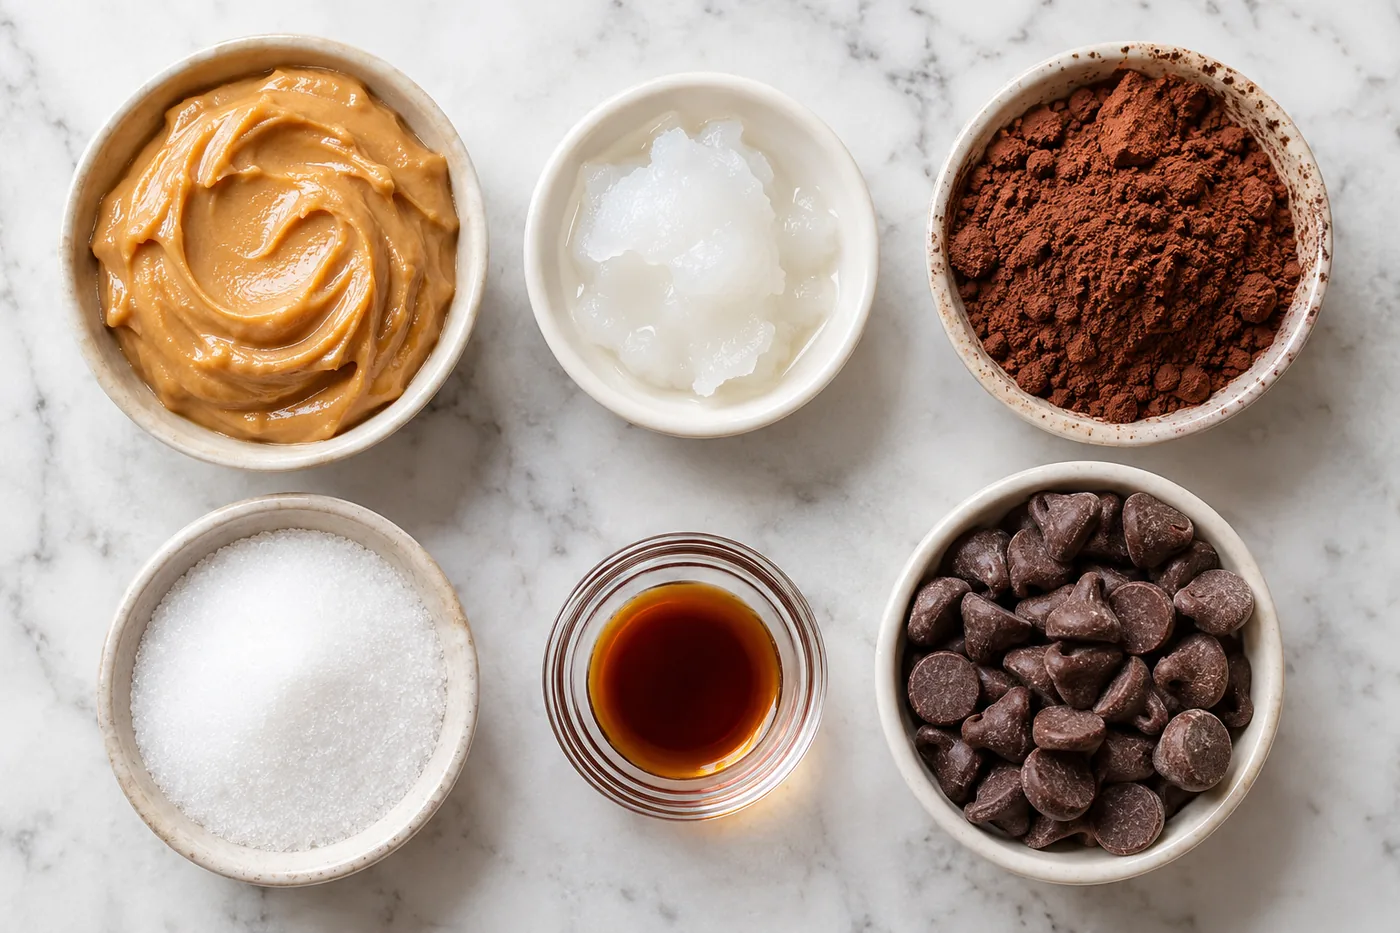
- 1 cup natural peanut butter choose smooth and unsweetened for a creamy texture and rich flavor.
- 1/2 cup coconut oil melted; it helps bind everything together and adds a subtle coconut flavor.
- 1/4 cup unsweetened cocoa powder for deep chocolate flavor; make sure it’s unsweetened for the best results.
- 1/4 cup sweetener, erythritol or stevia adjust to taste; both sweeteners keep the recipe low carb.
- 1/2 tsp vanilla extract adds warmth and enhances the chocolate notes.
- 1/4 tsp salt brings out the sweetness and balances the flavors.
- 1/2 cup dark chocolate chips, sugar-free optional for topping; use sugar-free to keep it low carb.
- 1 tbsp coconut flour optional for thickening; it helps improve the texture.
When making low carb chocolate peanut butter cups, look for high-quality natural peanut butter without added sugar. Sugar-free chocolate chips can be found at most grocery stores, and using unsweetened cocoa powder is key to achieving that rich chocolate flavor without extra carbs.
Easy Substitutions
- Dairy-free: swap dark chocolate chips for dairy-free chocolate chips — this will keep the recipe completely dairy-free and maintain the chocolatey taste.
- Gluten-free: the recipe is already gluten-free, but if you want extra thickening, swap coconut flour for almond flour — this will give a nuttier flavor and slightly different texture.
- Lower calorie: reduce the amount of sweetener — this will make the cups less sweet, so taste as you go to find your perfect balance.
Step-by-Step Instructions
Prep & Mix
- In a medium mixing bowl, combine 1/2 cup melted coconut oil, 1 cup peanut butter, 1/4 cup cocoa powder, 1/4 cup low-carb sweetener, 1 teaspoon vanilla extract, and a pinch of salt. Mix well until the mixture is smooth and creamy — this ensures no lumps and a silky texture for your cups.
- If you prefer a thicker consistency, stir in 2 tablespoons of coconut flour. This will help the mixture hold its shape and create that satisfying bite. Make sure it’s fully incorporated before moving on.
Fill & Chill
- Line a muffin tin with paper liners or silicone molds. This makes for easy removal and cleanup, and it helps maintain the shape of your low carb chocolate peanut butter cups.
- Spoon about 1 tablespoon of the peanut butter mixture into each muffin cup, filling them halfway. This allows room for the top layer, ensuring each cup is perfectly balanced in flavor.
- Optional: Sprinkle a few dark chocolate chips on top of each cup for extra richness and a pleasureful texture contrast. The chocolate will melt slightly, creating a smooth topping.
- Spoon additional peanut butter mixture on top to fill each cup to the rim — this is where the magic happens!
- Refrigerate the cups for at least 30 minutes at 35°F until they are firm to the touch. This chilling time allows the flavors to meld and the cups to set properly, creating that satisfying bite.
Serve & Enjoy
- Once set, gently remove the peanut butter cups from the muffin tin. They should pop out easily if you used liners or silicone molds. If they resist, give them a gentle twist to help release them.
- Serve chilled or at room temperature, savoring these delightful low carb chocolate peanut butter cups. The creamy texture and rich flavor are truly tempting!
Tips & Tricks
The Importance of Quality Peanut Butter
I can't stress enough how crucial it is to use a good quality peanut butter for these low carb chocolate peanut butter cups. Go for natural peanut butter made from just peanuts and salt. Avoid the ones with added sugars or oils; they can alter the flavor and texture significantly. Trust me, I made my first batch with a cheap brand, and they came out cloyingly sweet and oily — not the vibe we want here!
Chilling for Perfect Set
After you fill the muffin cups, don't skip the chilling step! Pop them in the fridge for at least an hour. This allows the chocolate and peanut butter layers to firm up beautifully, making them much easier to remove from the liners. I once tried to eat them too soon, and they just fell apart — a delicious mess, but not what I was aiming for!
Pro Tips
- Use Natural Peanut Butter Only: Opt for natural peanut butter with just peanuts and salt for the best flavor and texture. I tried a brand with added sugars and oils, and the cups were way too sweet and greasy. A clean nut butter makes all the difference!
- Chill Before Adding Toppings: Let the first layer set in the fridge for about 15 minutes before adding chocolate chips or any other toppings. This step prevents them from sinking into the mixture and ensures a beautiful presentation. Trust me, it’s worth the wait.
- Experiment with Sweeteners: Not all low-carb sweeteners behave the same way, so don’t hesitate to experiment. My favorite is erythritol for its clean sweetness, but I’ve found that monk fruit blends can add a nice fruity note. Just adjust the amount according to your taste.
- Double the Batch for Meal Prep: These cups store really well, so make a double batch and freeze half. I keep mine in a sealed container, and they’re perfect for quick snacks throughout the week. Just remember to let them sit at room temperature for a few minutes before enjoying!
- Use Silicone Molds for Easy Release: Silicone molds are a great choice for these treats. I’ve used paper liners before, but they often stick and tear. With silicone, the cups slide right out, making them look perfect every time.
Variations & Customizations
Flavor Twists
Coconut Crunch
Add 1/2 cup unsweetened shredded coconut to the peanut butter mixture before pouring it into the molds. This variation brings a pleasureful chewiness and tropical flavor, making each bite feel like a little island getaway.
Mint Chocolate
Mix in 1/2 tsp peppermint extract with the vanilla extract in the peanut butter mixture. The result is a refreshing minty twist that pairs beautifully with the rich chocolate, perfect for a cool dessert.
Kid-Friendly
Cookie Dough Delight
Stir in 1/4 cup mini chocolate chips and 1/4 cup chopped walnuts to the peanut butter mix. This version has a fun, chewy texture reminiscent of cookie dough, with bursts of chocolate and crunch from the nuts, making it a kid favorite!
Storage & Meal Prep
Room Temperature
You can keep your low carb chocolate peanut butter cups at room temperature for about 2 days. Store them in an airtight container to prevent them from drying out or absorbing odors from other foods.
Refrigerator
In the refrigerator, they'll last for up to a week. Make sure they are completely cool before wrapping them individually in plastic wrap or placing them in a container to avoid moisture buildup.
Freezer
These treats can be frozen for up to 3 months. I recommend flash freezing them on a sheet pan first, then wrapping each cup individually in plastic wrap. To thaw, just move them to the fridge for a few hours or leave them at room temperature for about 30 minutes.
Meal Prep
Consider doubling the recipe to have a nice stash on hand. Prep them on the weekend for a treat throughout the week, and they'll stay fresh in the fridge for up to a week. Store them in a container with a tight seal to keep them from drying out.
Frequently Asked Questions
Can I use creamy peanut butter instead of natural?
Yes, you can use creamy peanut butter, but it’s best to choose one without added sugars or oils. Natural peanut butter provides a richer flavor and better texture for these cups.
Why did my chocolate peanut butter cups not set?
If your cups didn't set, it might be due to using too much melted chocolate or not letting them chill long enough. Make sure to follow the ratios closely and give them adequate time in the fridge.
What can I use instead of coconut oil?
You can substitute coconut oil with unsalted butter or ghee for a slightly different flavor. Just make sure it’s melted before mixing it with your ingredients.
How can I make these dairy-free?
To make these cups dairy-free, simply use dairy-free chocolate chips and ensure your peanut butter is free from added dairy. This way, you can enjoy a delicious treat without any dairy ingredients.
Can I add other toppings to these peanut butter cups?
Absolutely! You can sprinkle some sea salt, chopped nuts, or even a drizzle of sugar-free caramel on top for extra flavor. Get creative with your toppings to make them uniquely yours!
These low carb chocolate peanut butter cups are not just a treat; they satisfy my sweet tooth without the guilt, and I love how easy they are to make. For the best flavor, use high-quality dark chocolate — it makes all the difference! I can't wait for you to try them; leave a comment to share your thoughts or pin this recipe for later!
Recipe Card
Low Carb Chocolate Peanut Butter Cups
Indulge in these rich and creamy low carb chocolate peanut butter cups that are easy to make and guilt-free.
checklist Ingredients
- 1 cup natural peanut butter
- 1/2 cup coconut oil
- 1/4 cup unsweetened cocoa powder
- 1/4 cup sweetener
- 1/2 tsp vanilla extract
- 1/4 tsp salt
- 1/2 cup dark chocolate chips
- 1 tbsp coconut flour
menu_book Instructions
- 1
In a medium mixing bowl, combine the melted coconut oil, peanut butter, cocoa powder, sweetener, vanilla extract, and salt.
- 2
Mix well until the mixture is smooth and fully combined.
- 3
If using, stir in the coconut flour to thicken the mixture.
- 4
Line a muffin tin with paper liners or silicone molds.
- 5
Spoon about 1 tablespoon of the peanut butter mixture into each muffin cup, filling them halfway.
- 6
Optional: Sprinkle a few dark chocolate chips on top of each cup.
- 7
Spoon additional peanut butter mixture on top to fill each cup to the rim.
- 8
Refrigerate for at least 30 minutes until the cups are firm.
- 9
Once set, remove the peanut butter cups from the muffin tin.
- 10
Serve chilled or at room temperature, enjoying as a low-carb treat.