High Protein Vanilla Ice Cream

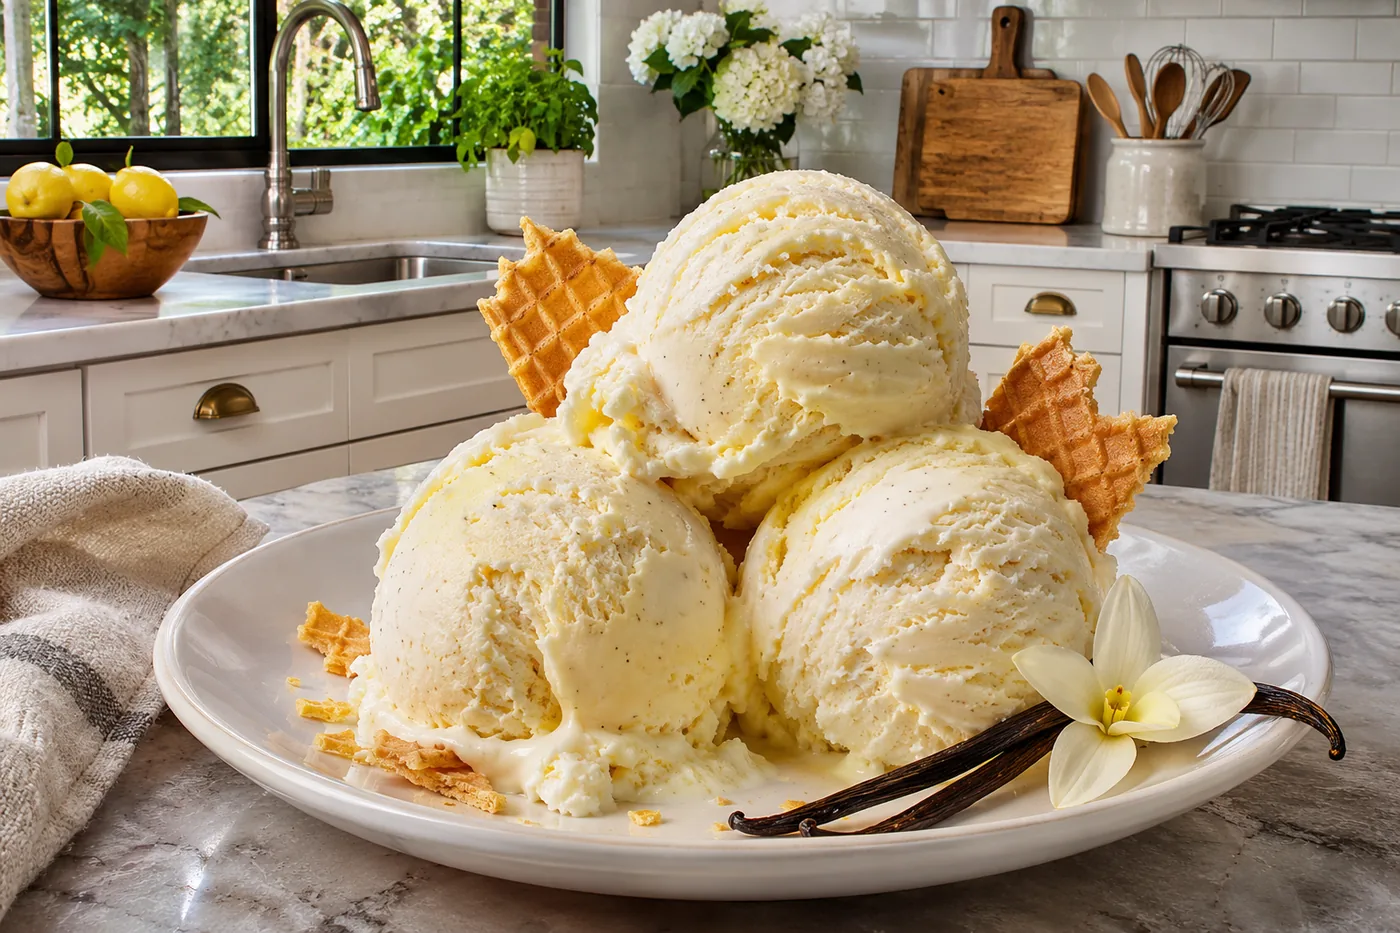
“Delight in this creamy, high-protein vanilla ice cream made with Greek yogurt, perfect for a healthy treat.”
I remember the first time I whipped up high protein vanilla ice cream for a hot summer day. The kids were skeptical, but one taste and they were hooked!
What makes this recipe stand out is the creamy texture from Greek yogurt, which not only boosts the protein but also gives it a tangy twist that enhances the classic vanilla flavor.
Why This Recipe Works
- Creaminess from Coconut Milk: The high fat content in coconut milk gives this ice cream a smooth, creamy texture that mimics traditional ice cream. I found that using full-fat coconut milk resulted in a smoother consistency compared to light coconut milk, which can be a bit icy.
- Protein Boost from Greek Yogurt: Greek yogurt is the star here, providing a significant protein boost while keeping the ice cream light and fluffy. I made a batch using regular yogurt and found it didn't have the same creamy mouthfeel as the Greek version.
- Natural Sweetness from Honey: Honey not only sweetens the ice cream but also contributes to a softer texture due to its hygroscopic nature, which helps retain moisture. When I switched to maple syrup, the flavor was lovely, but I noticed it froze a bit harder.
- Flavor Depth from Pure Vanilla Extract: Using pure vanilla extract enhances the overall flavor profile, creating a rich and aromatic ice cream experience. I tested both imitation and pure extracts, and the real deal definitely makes a noticeable difference in taste.
Ingredients
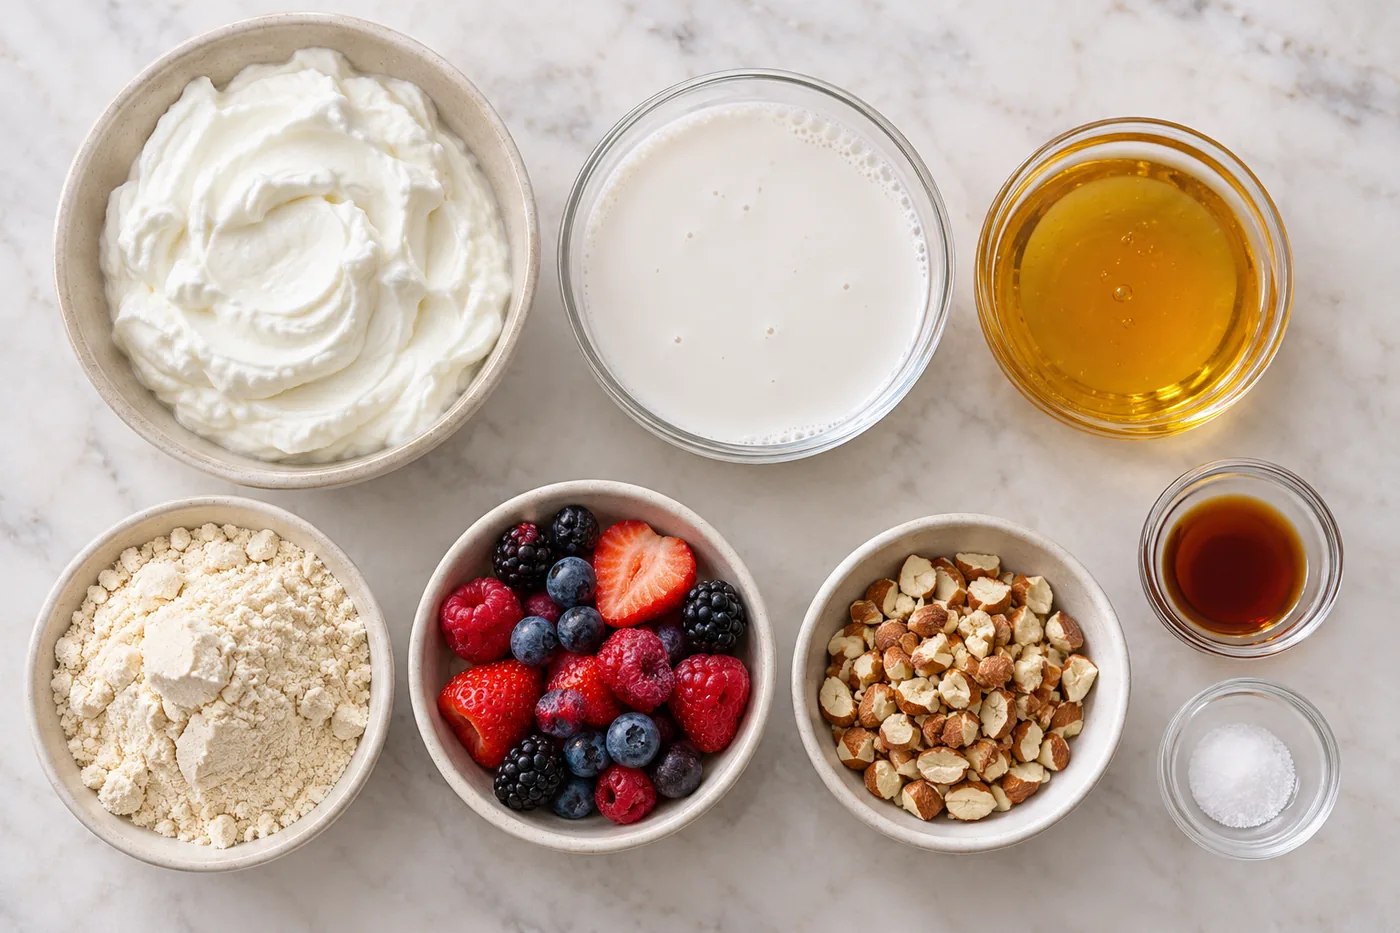
What You'll Need
- 2 cups Greek yogurt, plain, non-fat or low-fat choose a brand with no added sugars for a healthier option
- 1 cup coconut milk, full fat the creaminess makes a huge difference in texture
- 1/2 cup honey or maple syrup both add sweetness, but honey has a more robust flavor
- 2 tsp vanilla extract, pure pure vanilla extract gives the best flavor; avoid imitation
- 1/2 tsp salt salt enhances the overall flavors and balances the sweetness
- 1 cup protein powder, vanilla flavored or unflavored vanilla flavored adds extra taste, while unflavored keeps it neutral
- 1 cup fresh berries, for topping, optional opt for seasonal berries for the best flavor and color
- 1 cup chopped nuts, for topping, optional nuts add a nice crunch and healthy fats
When shopping for Greek yogurt, look for options that are high in protein and low in added sugars. Full-fat coconut milk will give your high protein vanilla ice cream a rich, creamy mouthfeel, which is essential for that rich ice cream experience.
Easy Substitutions
- Dairy-free: swap Greek yogurt for dairy-free yogurt — the texture will be slightly less creamy, but you'll still achieve a delicious ice cream.
- Lower calorie: replace honey with a sugar-free sweetener — the sweetness will be similar, but the flavor may be less complex.
Step-by-Step Instructions
Prep & Mix
- In a large mixing bowl, combine 2 cups of Greek yogurt, 1 cup of coconut milk, 1/2 cup of honey, 2 teaspoons of vanilla extract, and a pinch of salt. This creates a creamy base with sweetness that balances the flavors.
- Whisk the mixture until smooth and fully combined, about 2-3 minutes. You want it to be silky with no lumps, which ensures a smooth texture in your high protein vanilla ice cream.
- Add 1 cup of your favorite protein powder and continue to whisk until there are no lumps, about 2 minutes. This is crucial for a smooth final product; any lumps will result in a gritty ice cream. Taste the mixture and adjust sweetness if desired by adding more honey. If it’s too sweet, a squeeze of lemon juice can help balance it.
Churn & Freeze
- Pour the mixture into an ice cream maker and churn according to the manufacturer's instructions, usually about 20-25 minutes. You'll know it's ready when the mixture thickens and resembles soft serve, creating a pleasureful creamy texture.
- Once thickened, transfer the ice cream to an airtight container. This step is important to prevent ice crystals from forming, ensuring a smooth texture when frozen.
- Freeze the ice cream for at least 2 hours or until firm. The ice cream should be scoopable but not rock hard. If it's too hard, let it sit at room temperature for a few minutes before scooping.
Serve & Enjoy
- Scoop the ice cream into bowls and top with fresh berries and chopped nuts if desired. The vibrant colors of the berries add a lovely contrast, and the nuts provide a pleasureful crunch. Enjoy your homemade high protein vanilla ice cream!
Tips & Tricks
Chill Your Ingredients
For the creamiest high protein vanilla ice cream, make sure your coconut milk is chilled before mixing. I often pop the can in the fridge overnight. If you use warm coconut milk, it can make the mixture too loose, resulting in a less creamy texture once frozen. Trust me, a cold base is key to achieving that perfect scoop.
Choosing the Right Protein Powder
Not all protein powders are created equal. I learned this the hard way when I used a protein powder that didn’t mix well, leaving me with gritty ice cream. Look for a powder that dissolves easily, like whey or a good quality plant-based option. This will ensure your ice cream is smooth and creamy, just as it should be.
Pro Tips
- Use a powerful blender: A high-speed blender can create an ultra-smooth mixture, which means fewer ice crystals in your ice cream. I’ve found that my old blender left lumps, making the texture less creamy. Investing in a good one made a noticeable difference!
- Chill your mixing bowl: Before you start, chill your mixing bowl in the freezer for about 15 minutes. This little trick helps the mixture stay colder for longer, which contributes to a creamier texture once churned. I always keep an extra bowl in the freezer just for ice cream!
- Experiment with protein powder flavors: Not all protein powders taste the same; some are sweeter or more vanilla-forward than others. I’ve tried a chocolate protein powder in this recipe, and it turned out deliciously decadent. Don’t be afraid to play around with flavors!
- Add mix-ins after churning: To keep your high protein vanilla ice cream smooth, add any mix-ins like nuts or chocolate chips right after churning. This way, they won’t interfere with the texture while it freezes. I love folding in crushed cookies or fresh fruit at this stage.
- Allow ice cream to soften before serving: Let your ice cream sit at room temperature for about 5-10 minutes before scooping. This softens it just enough for perfect scoops. I learned this after a few struggles with rock-hard ice cream—much easier to serve when it’s slightly softened!
Variations & Customizations
Flavor Twists
Chocolate Hazelnut
Fold in ½ cup chocolate hazelnut spread after mixing. The ice cream becomes rich and creamy, with a luxurious chocolatey swirl that adds depth and a nutty flavor.
Coconut Lime
Add the zest of 2 limes and ¼ cup toasted shredded coconut into the mixture. This version is refreshing and tropical, with a bright citrus flavor balancing the creaminess of the coconut milk.
Unexpected Creations
Matcha Green Tea
Blend in 2 tablespoons matcha powder before freezing. The result is a vibrant green ice cream with a subtle earthy flavor, creamy texture, and a beautiful visual appeal that’s surprisingly refreshing.
Storage & Meal Prep
Room Temperature
High protein vanilla ice cream should not be left at room temperature for more than 30 minutes. If you need to store it briefly, use an airtight container to prevent it from melting too quickly.
Refrigerator
You can keep it in the refrigerator for up to 2 days. Make sure it’s completely cool before transferring to an airtight container to avoid condensation, which can create ice crystals.
Freezer
In the freezer, it stays fresh for about 2 weeks. For best results, flash freeze on a sheet pan first, then wrap individual scoops tightly in plastic wrap or store in an airtight container. To thaw, move it to the fridge for about 30 minutes before serving, or let it sit at room temperature for 10 minutes.
Meal Prep
I recommend doubling the recipe for batch cooking. Prepare it the night before or over the weekend for a quick treat during the week. Use a glass or plastic airtight container for storage, and it will stay fresh for up to 2 weeks. No reheating needed—just scoop and enjoy!
Frequently Asked Questions
Can I use a different yogurt for this ice cream?
Yes, you can use flavored Greek yogurt if you want to add a twist. Just be aware that it may change the overall flavor of your ice cream.
Why did my high protein vanilla ice cream turn out icy?
If your ice cream is icy, it could be due to not blending the mixture enough or not chilling the ingredients properly beforehand. Make sure to blend until smooth and use cold ingredients for a creamier texture.
Can I use dairy-free yogurt for this recipe?
Absolutely! Dairy-free yogurt like almond or coconut yogurt can work well. Just keep in mind that it may alter the flavor and texture slightly.
How can I make this ice cream lower in sugar?
To lower the sugar content, you can use unsweetened Greek yogurt and omit any added sweeteners. You can also add a few drops of stevia or another sugar substitute for sweetness without the calories.
What toppings go well with high protein vanilla ice cream?
Fresh fruits like berries or sliced bananas are fantastic toppings. You can also sprinkle some chopped nuts or drizzle a little honey for added flavor.
High protein vanilla ice cream is a pleasureful treat that feels rich while keeping you on track with your nutrition goals. For an extra creamy texture, blend the mixture a bit longer before freezing. I can't wait to hear how yours turns out, so give it a try and leave a comment or share your creations on Pinterest!
Recipe Card
High Protein Vanilla Ice Cream
Delight in this creamy, high-protein vanilla ice cream made with Greek yogurt, perfect for a healthy treat.
checklist Ingredients
- 2 cups Greek yogurt
- 1 cup coconut milk
- 1/2 cup honey
- 2 tsp vanilla extract
- 1/2 tsp salt
- 1 cup protein powder
- 1 cup fresh berries
- 1 cup chopped nuts
menu_book Instructions
- 1
In a large mixing bowl, combine Greek yogurt, coconut milk, honey, vanilla extract, and salt.
- 2
Whisk the mixture until smooth and fully combined, about 2-3 minutes.
- 3
Add the protein powder to the mixture and continue to whisk until there are no lumps, about 2 minutes.
- 4
Pour the mixture into an ice cream maker and churn according to the manufacturer's instructions, usually about 20-25 minutes.
- 5
Once thickened, transfer the mixture to an airtight container.
- 6
Freeze the ice cream for at least 2 hours or until firm.
- 7
Scoop the ice cream into bowls and top with fresh berries and chopped nuts if desired.