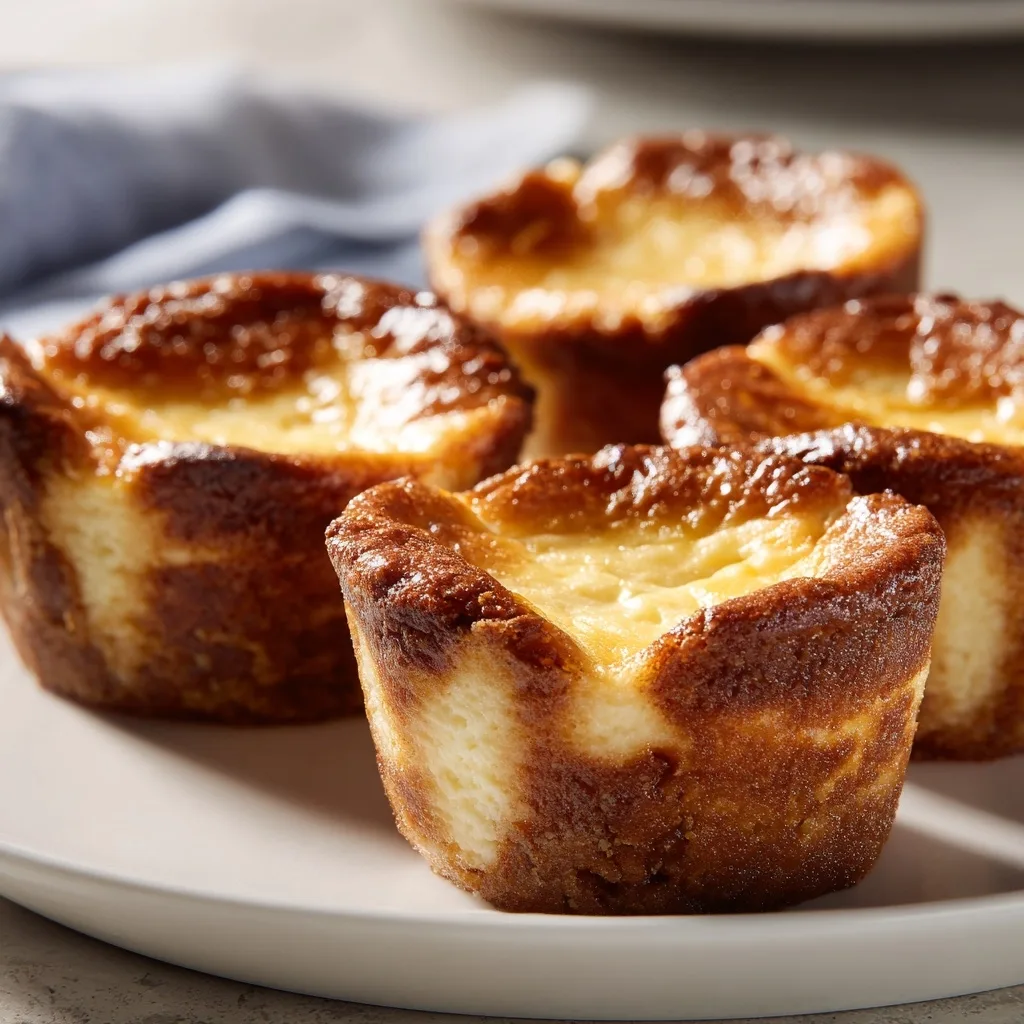
Last summer, I was craving something sweet but wanted to keep my protein intake high, so I experimented with different ingredients. That's when I discovered these high protein cheesecake cups, using cottage cheese and Greek yogurt to create a creamy, dreamy dessert that’s both satisfying and guilt-free.
What sets this recipe apart from the countless others online is the perfect balance of flavors and textures. You get the rich, velvety taste of cheesecake without all the added sugars and fats. Trust me, these little cups will surprise you with their delightful taste and high protein punch!
Why You'll Love This Recipe
- Greek yogurt provides creaminess: This ingredient adds richness while keeping the fat content lower, creating that smooth texture you expect from a cheesecake. I experimented with both full-fat and non-fat yogurt, and the non-fat version still delivered a satisfying creaminess.
- Cottage cheese enhances protein content: The curds in cottage cheese give structure and a pleasureful mouthfeel while packing in protein. I tested this with both full-fat and low-fat cottage cheese and found that the low-fat option yielded a lighter texture without sacrificing flavor.
- Protein powder adds sweetness and structure: Using vanilla-flavored protein powder not only sweetens the cheesecake cups but also contributes to a firm set, ensuring they hold their shape beautifully. I found that a scoop of protein powder really helps balance the overall flavor, making it taste rich.
- Honey or maple syrup for natural sweetness: These natural sweeteners integrate smoothly into the mixture, providing a pleasant, subtle sweetness without overpowering the other flavors. I’ve tried this with both honey and maple syrup, and each brings its own unique nuance to the dessert.
Ingredients
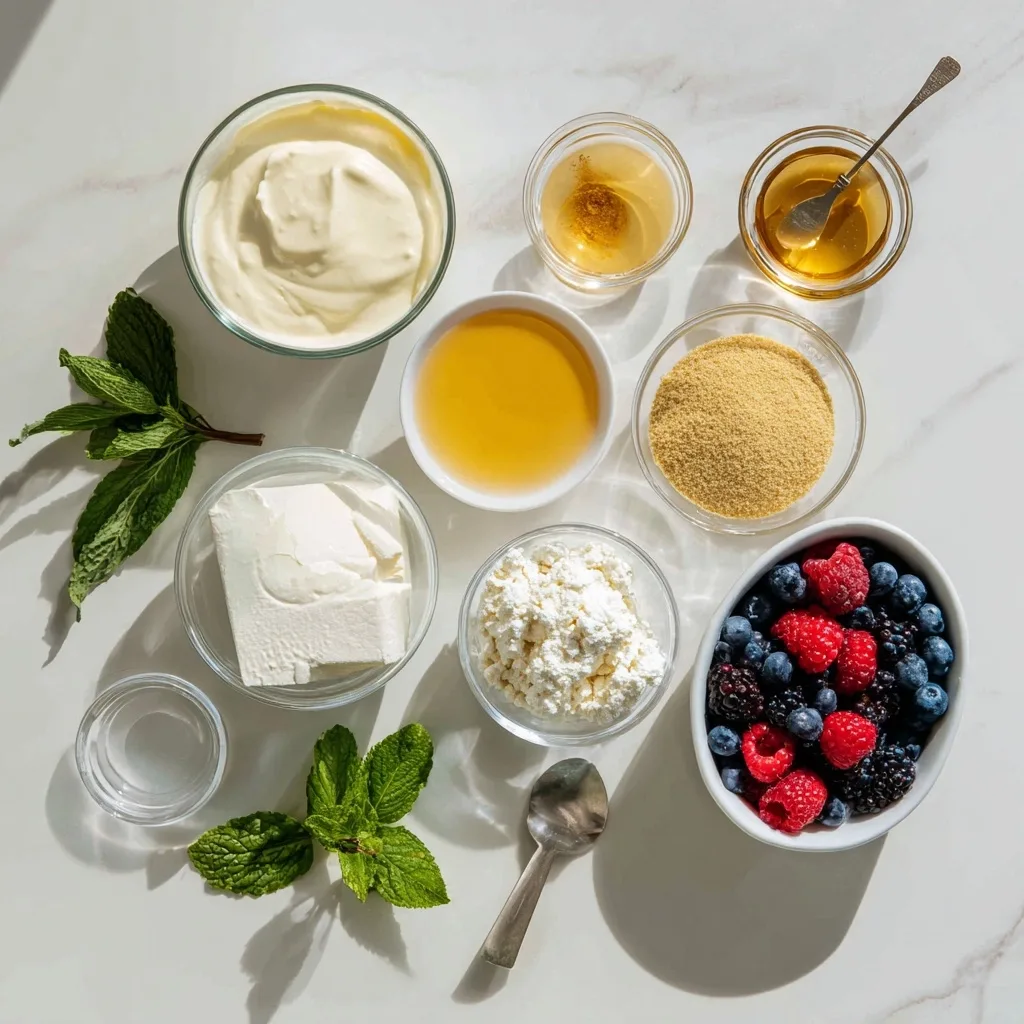
What You'll Need
- 1 cup Greek yogurt: use non-fat for lower calories; it adds creaminess and tang
- 1 cup cottage cheese: use low-fat for lower calories; it boosts protein while keeping the texture rich
- 1/2 cup cream cheese: softened for easy mixing; it provides that classic cheesecake flavor
- 1/2 cup protein powder: vanilla flavored works best; it enhances protein content without overpowering the taste
- 1/3 cup honey: or maple syrup for a vegan option; it sweetens the cups naturally
- 1 tsp vanilla extract: pure extract gives the best flavor; don't skimp on this!
- 1/4 tsp salt: balances sweetness; a little goes a long way
- 1/2 cup graham cracker crumbs: optional for crust; adds a pleasureful crunch and classic cheesecake essence
- 2 tbsp butter: melted, optional for crust; it helps bind the crumbs together
- 1/4 cup fresh berries: for topping; they add freshness and a pop of color
- 2 tbsp mint leaves: for garnish; they provide a refreshing touch
- 1 tsp lemon juice: for added flavor; it brightens up the overall taste
When shopping, look for high-quality Greek yogurt and cottage cheese for the best flavor and texture in your High Protein Cheesecake Cups. Fresh berries should be vibrant and firm, as they’ll enhance the visual appeal and taste of your dessert.
Easy Substitutions
- Dairy-free: swap cottage cheese for silken tofu — you'll get a smoother texture, and while the protein content remains similar, the flavor will be milder.
- Gluten-free: swap graham cracker crumbs for ground almonds or gluten-free cookie crumbs — this will give a nuttier flavor and a slightly different texture for the crust.
- Lower calorie: use a sugar substitute like stevia instead of honey — this will reduce sweetness and may slightly alter the creaminess, but it works well for a lighter option.
How to Make This Recipe
Prep & Mix
In a mixing bowl, combine Greek yogurt, cottage cheese, cream cheese, protein powder, honey, vanilla extract, lemon juice, and a pinch of salt. This blend creates a creamy base for your high protein cheesecake cups.
Using an electric mixer, blend on medium speed for 2-3 minutes until the mixture is smooth and creamy. You'll know it's ready when it resembles thick pancake batter, perfect for spooning into cups.
If using, melt the butter in a small bowl and mix it with the graham cracker crumbs until they resemble wet sand. This helps the crust hold together, giving you that satisfying crunch.
Divide the graham cracker mixture evenly among serving cups, pressing it down firmly to create a solid crust. This step is crucial for the structure of your cheesecake cups.
Assemble & Chill
Spoon the cheesecake filling over the crust in each cup, filling them to the top. This layer should look smooth and creamy as it fills the cups.
Cover the cups with plastic wrap and refrigerate for at least 1 hour to set. This chilling time allows the flavors to meld and the texture to firm up, making each bite wonderful.
Before serving, top each cheesecake cup with fresh berries and garnish with mint leaves. This adds a pop of color and freshness that brightens each bite. Serve chilled and enjoy your delicious high protein cheesecake cups!
Tips & Tricks
The Importance of Room Temperature Ingredients
I always let my cream cheese and cottage cheese sit out for about 30 minutes before I start mixing. Cold ingredients can create lumps in your cheesecake filling, making it harder to achieve that silky smooth texture we all crave. Trust me, I learned this the hard way when my first batch had an unappealing graininess. So, allow those ingredients to warm up; your future self will thank you!
Finding the Perfect Sweetness
When it comes to sweetening these High Protein Cheesecake Cups, taste as you mix! I usually start with the recommended amount of honey but often find I need a little extra, depending on my mood. Sometimes, I like to add a splash of maple syrup or even a touch of stevia for a different flavor profile. Just remember: you can always add more, but you can't take it out once it's in!
Pro Tips
- Use a food processor for smoothness: While an electric mixer works fine, a food processor takes the creaminess to another level. I found that using a processor eliminates any lumps, giving my High Protein Cheesecake Cups a velvety texture that’s simply tempting.
- Experiment with flavorings: Vanilla extract is a classic, but have you tried almond or coconut extracts? Just a drop can transform the flavor profile. I often alternate between these for a pleasureful twist that keeps things interesting!
- Chill overnight for best results: If you can wait, letting the cups chill overnight allows the flavors to meld beautifully. I’ve noticed that the texture becomes firmer and creamier, making each bite a pleasureful experience.
- Top with fresh fruit or nuts: For added texture and flavor, consider topping each cheesecake cup with fresh berries or a sprinkle of chopped nuts. The contrast between the creamy filling and the crunchy toppings enhances the dessert beautifully.
- Use silicone cups for easy removal: Silicone cups are a great choice. I love how easily they release the cheesecake without sticking, which means less fuss when serving. Plus, they come in fun colors that brighten up my kitchen!
Variations & Customizations
Flavor Twists
Chocolate Peanut Butter
Add ½ cup creamy peanut butter and ¼ cup cocoa powder to the batter. This variation creates a rich, decadent flavor that’s reminiscent of a chocolate dessert, with a slightly denser texture — think of it as a cheesecake and a protein bar rolled into one.
Berry Bliss
Mix in 1 cup of blended fresh berries (like strawberries or blueberries) into the cheesecake mixture. The result is a vibrant, fruity cheesecake cup full of color and flavor. You'll get a refreshing tang that pairs beautifully with the creamy texture.
Unexpected Surprises
Matcha Green Tea
Stir in 2 tablespoons of matcha green tea powder for a unique twist. This version has an earthy flavor with a lovely green hue, providing a pleasureful contrast to the sweetness of the honey. It’s a visually stunning dessert that adds a hint of sophistication!
Storage & Meal Prep
How to Store
Room Temperature
These High Protein Cheesecake Cups are best stored in an airtight container at room temperature for up to 2 hours. Beyond that, they should definitely find their way to the fridge to maintain that creamy texture.
Refrigerator
You can keep them in the refrigerator for up to 5 days. Make sure they cool completely before wrapping each cup individually in plastic wrap or placing them in a sealed container. This prevents them from becoming soggy on the bottom.
Freezer
For longer storage, these cups can be frozen for up to 2 months. I recommend flash freezing them on a sheet pan first, then wrapping each cup individually. When you're ready to enjoy, just thaw them in the fridge overnight for the best texture.
Meal Prep
Consider doubling the recipe to have a batch ready for the week! Prep them the night before or over the weekend for easy grab-and-go snacks. Store them in small, airtight containers, and they'll stay fresh for up to 5 days in the fridge. For a quick treat, just pop one in the microwave for about 15-20 seconds to warm it up a bit.
Equipment You'll Need
Essential
Electric mixer: A reliable electric mixer is crucial for achieving a smooth and creamy cheesecake filling. It cuts down on the mixing time to just 2-3 minutes, ensuring that your ingredients are well combined without lumps. Hand mixing takes much longer and may leave you with an uneven texture.
Small mixing bowl: You’ll need this for combining the melted butter and graham cracker crumbs. A bowl with a wide base makes it easier to mix thoroughly, ensuring that every crumb is coated for a better crust.
Nice to Have
Food processor: If you have one, a food processor can quickly crush your graham crackers for the crust. It saves time and gives you a more uniform crumb than doing it by hand. However, it's not essential if you're okay with a bit of texture in your crust.
Frequently Asked Questions
Can I use a different sweetener for these cheesecake cups?
Absolutely! You can substitute with honey, maple syrup, or a sugar alternative like stevia. Just remember that different sweeteners can affect the texture and flavor, so adjust to taste.
Why did my cheesecake cups turn out runny?
Runny cheesecake cups often result from not incorporating enough thickening agents, like Greek yogurt or cream cheese. Make sure to blend your ingredients well and give them enough time to chill in the fridge before serving.
Can I make these cheesecake cups dairy-free?
Yes, you can use dairy-free alternatives like coconut yogurt or cashew cream instead of Greek yogurt and cream cheese. Just keep in mind that the flavor and texture may vary slightly.
How long can I store the cheesecake cups?
These cheesecake cups can be stored in the fridge for up to five days. Just make sure they are sealed well to maintain freshness and prevent drying out.
What toppings go well with high protein cheesecake cups?
Fresh berries, a drizzle of chocolate sauce, or a sprinkle of crushed nuts make great toppings. They not only add flavor but also enhance the presentation!
These High Protein Cheesecake Cups have become my favorite guilt-free treat — they're creamy, satisfying, and perfect for satisfying those sweet cravings. For an extra flavor boost, try adding a splash of vanilla extract or a sprinkle of cinnamon to the mix. I can't wait to hear how your cheesecake cups turn out, so leave a comment or share your creations with me on Pinterest!