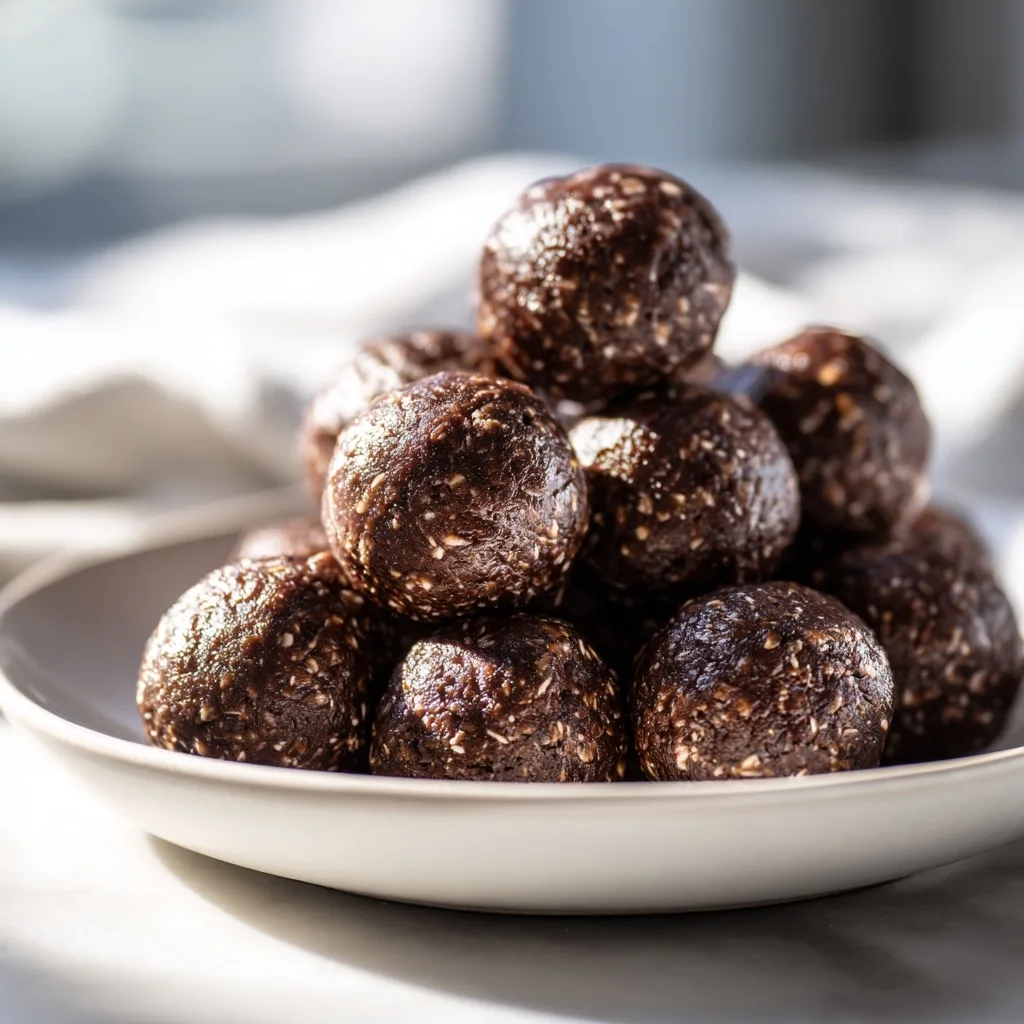
One afternoon, I was on a mission for a quick snack that wouldn’t ruin my healthy eating streak. That’s when I whipped up these Chocolate Protein Energy Balls, and let me tell you, they were a great choice. The kids couldn’t get enough of the rich chocolate flavor, and I loved knowing they were packed with protein and good-for-you ingredients.
What sets this recipe apart from the countless others out there is the perfect balance of sweetness and texture. With a mix of nuts, oats, and just the right chocolatey goodness, these little bites are not only satisfying but also incredibly easy to make. You’ll want to keep them on hand for any time cravings hit!
Why You'll Love This Recipe
- Rolled oats provide structure: The oats act as a base, giving these energy balls a chewy texture and helping to bind all the ingredients together. I found that using gluten-free oats made no difference in consistency, which is great for those with dietary restrictions.
- Natural nut butter adds creaminess: The fats in peanut or almond butter give these energy balls a rich, satisfying mouthfeel while providing protein. I tested it with both nut butters and found that peanut butter gives a more robust flavor compared to almond butter.
- Ground flaxseed boosts nutrition: This ingredient enhances the fiber content, making these energy balls even more filling and beneficial for digestion. I tried a batch without flaxseed, and honestly, the texture felt a bit less hearty.
- Cocoa powder intensifies flavor: The unsweetened cocoa powder adds a deep chocolate flavor without extra sugars, balancing the sweetness from honey or maple syrup. When I used a high-quality cocoa, the flavor was incredibly rich and satisfying.
Ingredients
What You'll Need
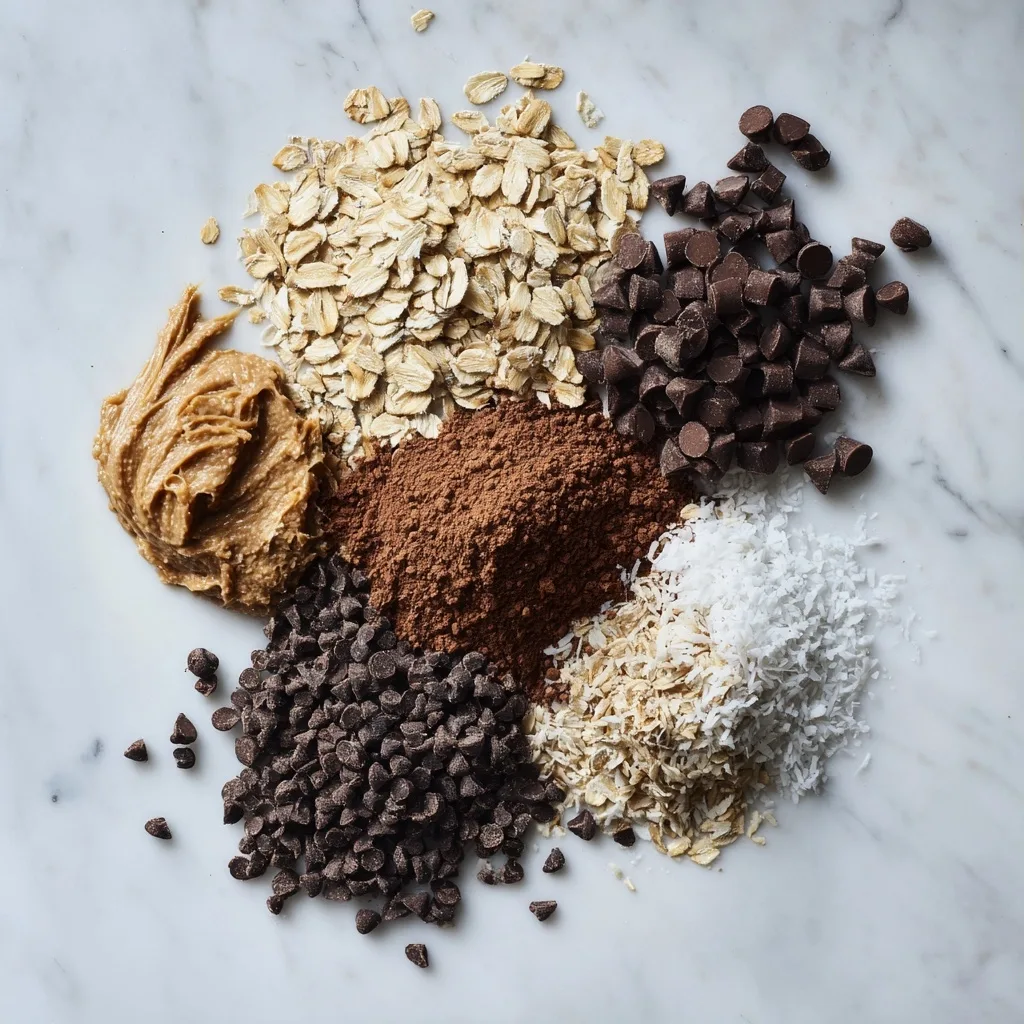
- 1 cup rolled oats: preferably gluten-free for a wholesome base; they provide great texture and energy
- 1/2 cup natural peanut butter: or almond butter for a different flavor; choose unsweetened for better control over sweetness
- 1/4 cup honey: or maple syrup for a vegan option; both add natural sweetness and stickiness to bind the balls
- 1/4 cup chocolate protein powder: your choice of flavor; it boosts the protein content and adds richness
- 1/4 cup mini dark chocolate chips: optional for an extra chocolatey bite; look for high cocoa content for better flavor
- 1/4 cup ground flaxseed: optional for extra fiber; it also helps with binding and adds a nutty flavor
- 1/2 tsp vanilla extract: for flavor enhancement; it complements the chocolate beautifully
- 1/4 tsp salt: to taste; it balances the sweetness and enhances overall flavor
- 1/4 cup chopped nuts: such as almonds or walnuts, optional; they add crunch and healthy fats
- 1/4 cup unsweetened cocoa powder: for a rich chocolate flavor; choose high-quality cocoa for best results
- 1/4 cup coconut flakes: optional for texture; unsweetened flakes are best to avoid extra sugar
When shopping for ingredients, opt for high-quality nut butters and protein powders to ensure the best flavor in your Chocolate Protein Energy Balls. I love using organic honey or maple syrup for their natural sweetness and health benefits. The oats and flaxseed provide a solid nutritional base, making these energy balls a healthy snack.
Easy Substitutions
- Dairy-free: swap chocolate protein powder for a dairy-free version — the texture remains similar, but you may notice a slight change in flavor.
- Gluten-free: use certified gluten-free oats instead of regular rolled oats — this keeps the recipe safe for those with gluten sensitivities, without sacrificing texture.
- Lower calorie: substitute honey with a low-calorie sweetener like stevia — it will reduce the calories but might alter the sweetness slightly, so adjust to taste.
How to Make This Recipe
Prep & Mix
In a large mixing bowl, combine rolled oats, chocolate protein powder, cocoa powder, ground flaxseed, and salt. This blend creates a solid base for your Chocolate Protein Energy Balls, enhancing both flavor and nutrition.
Add peanut butter, honey, and vanilla extract to the dry ingredients. Mix until everything is well combined; the mixture should be sticky and hold together well. This step ensures that each bite is packed with flavor and sweetness.
Stir in mini dark chocolate chips, chopped nuts, and coconut flakes if using. The chocolate chips add delightful pockets of sweetness, while the nuts provide crunch. Make sure the mixture is evenly distributed for balanced taste in every bite.
Shape & Chill
Using your hands or a cookie scoop, form the mixture into small balls, about 1 inch in diameter. The process should feel a bit sticky but manageable. If the mixture is too crumbly, a little extra peanut butter can help it hold together.
Place the energy balls on a parchment-lined plate or baking sheet. The parchment prevents sticking and makes cleanup a breeze. Make sure they are spaced apart to allow for even chilling.
Refrigerate the energy balls for at least 30 minutes to set. This time is crucial; it allows the flavors to meld and the balls to firm up nicely for a perfect bite. They should feel slightly firm to the touch when you check them.
Store & Serve
Once set, transfer the energy balls to an airtight container. Storing them this way keeps them fresh and ready for snacking throughout the week.
Serve chilled or at room temperature as a quick snack. Enjoy the delightful chewiness and rich chocolate flavor in each bite of your homemade Chocolate Protein Energy Balls!
Tips & Tricks
Stick to Natural Peanut Butter
Using natural peanut butter can make a big difference in the texture of your Chocolate Protein Energy Balls. I learned the hard way that conventional peanut butter, which often contains added sugars and oils, can make the mixture too runny. The natural kind gives you that rich, nutty flavor without compromising the firmness of the balls. Plus, it's just so much healthier!
Chill for Better Texture
Don’t skip the chilling step! After forming the energy balls, I always refrigerate them for at least 30 minutes. This not only helps them set but also enhances the flavors as they meld together. If you’re in a rush and skip this step, you might end up with soft, crumbly energy balls that fall apart. Trust me, letting them chill is worth the wait!
Mix It Up with Add-Ins
Feel free to experiment with add-ins! I love tossing in some chopped dried fruits like apricots or cranberries for a little zing. You could also try swapping out the nuts or using different flavors of protein powder to keep things exciting. Just remember that adding too many wet ingredients can make the mixture too sticky, so balance is key!
Pro Tips
- Use a food processor: A food processor can save you time and effort when mixing the ingredients. It ensures that everything is evenly combined and can help achieve a smoother texture. I often pulse the dry ingredients first to break them down before adding the wet ones.
- Experiment with protein powders: Different brands of chocolate protein powder have unique flavors and sweetness levels. I’ve found that some brands work better in recipes than others, so don't hesitate to try a few until you find your favorite. The right one can enhance the taste significantly!
- Roll in cocoa powder: For an extra touch, roll the energy balls in cocoa powder before chilling. This adds an appealing look and intensifies the chocolate flavor. I sometimes mix a pinch of sea salt with the cocoa for a sweet-salty contrast that’s simply tempting.
- Adjust sweetness to taste: Honey can vary in sweetness, so taste as you go! I like to start with less and add more if needed, ensuring the energy balls aren’t overly sweet. This way, you can customize it to your preference and still keep the flavors balanced.
- Try different nut butters: Switching up nut butters can change the flavor profile entirely. Almond butter or cashew butter brings a different creaminess and taste that can complement the chocolate nicely. I love alternating them for a fun twist, especially when I’m feeling adventurous!
Variations & Customizations
Flavor Twists
Peanut Butter Chocolate Delight
Replace the almond butter with ½ cup natural peanut butter, and add ¼ cup unsweetened cocoa powder. These energy balls become rich and rich, with a creamy texture that melts in your mouth. The combination of chocolate and peanut butter creates a nostalgic flavor that reminds me of my favorite childhood treats.
Coconut Chocolate Bliss
Mix in ½ cup coconut flakes and replace the mini dark chocolate chips with ¼ cup of chopped dried mango. The result is a tropical twist that’s both chewy and sweet, with hints of chocolate and the unexpected brightness of mango. You’ll love the burst of flavor with every bite!
Kid-Friendly
Funfetti Energy Balls
To make these more appealing to kids, add ¼ cup of colorful sprinkles and use ½ cup almond butter instead. The energy balls turn into a festive treat, with a fun pop of color and a slightly nutty flavor that kids adore. They’re perfect for lunchboxes or after-school snacks!
Cookie Dough Surprise
Substitute the chocolate protein powder with ¼ cup vanilla protein powder and mix in ½ cup mini chocolate chips. These balls taste just like cookie dough, with a sweet, creamy texture that’s hard to resist. They’re a pleasureful treat that feels rich yet healthy!
Storage & Meal Prep
How to Store
Room Temperature
You can keep your Chocolate Protein Energy Balls at room temperature for about 2 days. Store them in an airtight container to prevent them from drying out or absorbing moisture.
Refrigerator
They'll stay fresh for up to a week in the fridge. Make sure to let them cool completely before wrapping them individually in plastic wrap or placing them in a container. This prevents them from getting soggy.
Freezer
For longer storage, freeze them for up to 3 months. I recommend flash freezing them on a sheet pan first, then wrapping each ball in plastic wrap for best results. To thaw, simply leave them in the fridge overnight or let them sit at room temperature for about 30 minutes.
Meal Prep
For optimal freshness, I suggest doubling the recipe, especially if you have a busy week ahead. Prep them on the weekend, and they'll stay fresh in the fridge for up to a week. Store them in a glass container for easy access, and enjoy them as a quick snack anytime.
Equipment You'll Need
Essential
Mixing bowl: A large mixing bowl is crucial for easily combining all the ingredients without making a mess. I prefer one with a wide base for better mixing — it helps me incorporate everything smoothly.
Cookie scoop: Using a cookie scoop ensures that your energy balls are uniform in size, making them more visually appealing and easier to eat. A tablespoon-sized scoop works perfectly to create 1-inch balls.
Nice to Have
Spatula: A spatula helps scrape down the sides of your bowl, ensuring no dry ingredients are left behind. It gives you a more thorough mix, which can improve the flavor and texture of your energy balls.
Frequently Asked Questions
Can I use a different nut butter?
Absolutely! You can swap almond butter for cashew butter, sunflower seed butter, or even tahini. Just keep an eye on the texture, as each type may slightly change the consistency of your energy balls.
Why did my energy balls turn out too crumbly?
Crumbly energy balls often mean there wasn't enough moisture. Try adding a bit more nut butter or a splash of honey to help bind everything together.
How long can I keep these energy balls in the fridge?
You can store your Chocolate Protein Energy Balls in the fridge for about a week. For longer freshness, consider freezing them, which can extend their shelf life to about three months.
Can I make these energy balls vegan?
Definitely! Just ensure you use a plant-based protein powder and a vegan sweetener like maple syrup instead of honey. Your energy balls will still be delicious and nutritious!
What can I add for extra flavor or crunch?
Consider mixing in some chopped nuts, seeds, or even dark chocolate chips for added texture. Dried fruits like cranberries or raisins also add a lovely sweetness and chewiness.
Chocolate protein energy balls have become my favorite snack for that midday pick-me-up, and they’re so easy to make! For an extra crunch, try adding some chopped nuts or seeds into the mix. I can't wait for you to try these — leave a comment with your thoughts or share your own twist on the recipe!