
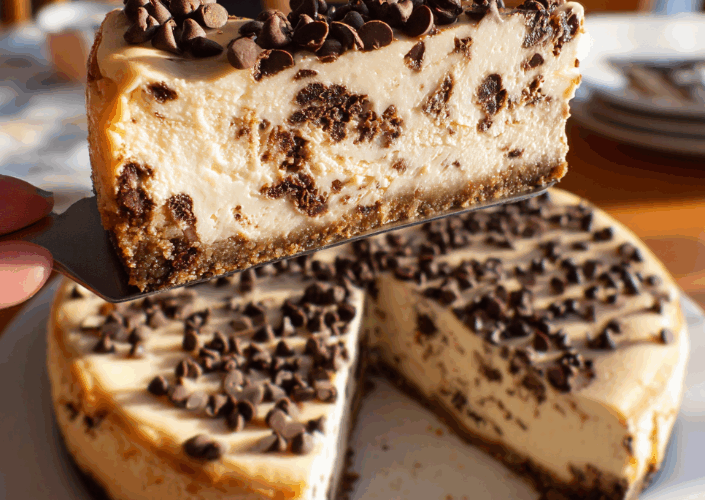
If you’ve ever wished cheesecake could double as a post-workout snack, this Protein Cheesecake might just be your dream come true.
It’s rich, creamy, and has up to 25 grams of protein per slice, yet it tastes like a classic New York cheesecake.
Advertisements
Whether you’re tracking macros, going low-carb, or just looking for a dessert that won’t derail your goals, this recipe hits the sweet spot. The best part? It’s ridiculously easy, no fancy baking skills required.
Advertisements
Perfect for:
- Health-conscious dessert lovers
- Fitness enthusiasts craving a sweet reward
- Anyone who believes dessert can still be part of a balanced lifestyle
Ingredients You’ll Need for Protein Cheesecake
- 24 oz cream cheese (regular or vegan alternative like Tofutti or Trader Joe’s)
- 2 cups Greek yogurt (or plant-based yogurt for dairy-free version)
- ½ cup protein powder (whey, casein, or vegan — vanilla or unflavored works best)
- ⅔ cup sweetener of choice (sugar, coconut sugar, maple syrup, or sugar-free substitute)
- 2½ tsp pure vanilla extract
- 1–2 tsp lemon juice (optional, for brightness)
- Crust of choice (see crust options below)
Flavor Add-In Ideas
- Chocolate: Use chocolate protein powder + mini chocolate chips
- Berry: Mix in strawberry or blueberry yogurt
- Peanut Butter: Swap 1 cup of yogurt for creamy peanut butter
- Key Lime: Use lime yogurt and fresh lime juice
- Coconut Cream: Add ½ cup shredded coconut
How to Make Protein Cheesecake (Step-by-Step)
Step 1: Prep the oven and crust
Preheat your oven to 350°F (175°C). Fill any baking pan halfway with water and place it on the bottom rack — this creates steam to prevent cracking.
Prepare your crust of choice in a 9-inch springform pan (see options below).
Advertisements
Step 2: Blend the filling
Let your cream cheese come to room temperature so it’s soft. In a food processor or high-speed blender, combine all ingredients until just smooth. Avoid overbeating — too much air can cause cracks later.
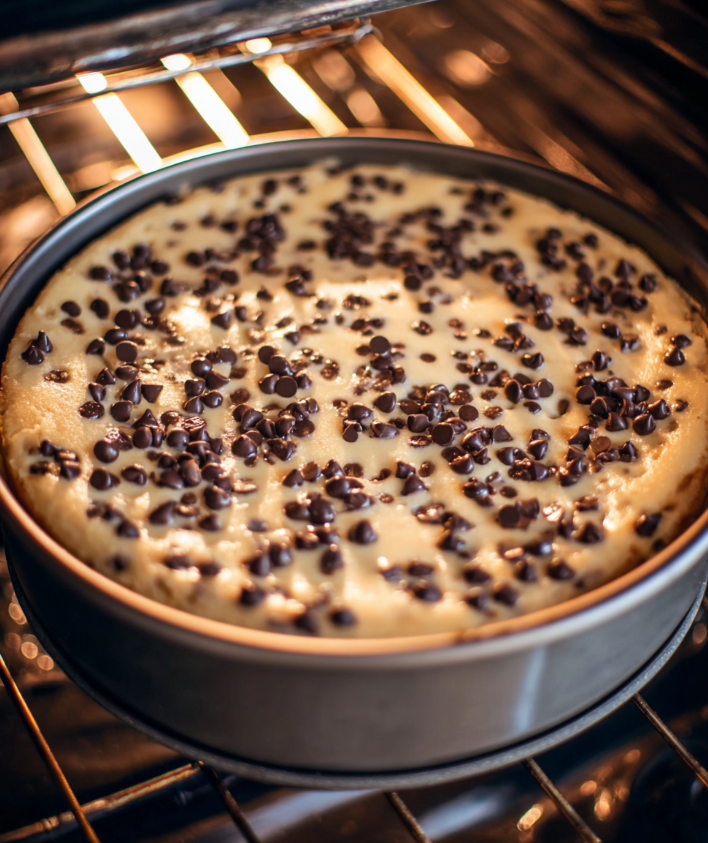
Step 3: Bake gently
Pour the filling into your prepared crust. Smooth the top.
Place the cheesecake on the middle rack (above the water pan) and bake for 30 minutes.
Then, turn off the oven but don’t open the door. Let it rest inside for 5 more minutes to cool gradually.
Advertisements
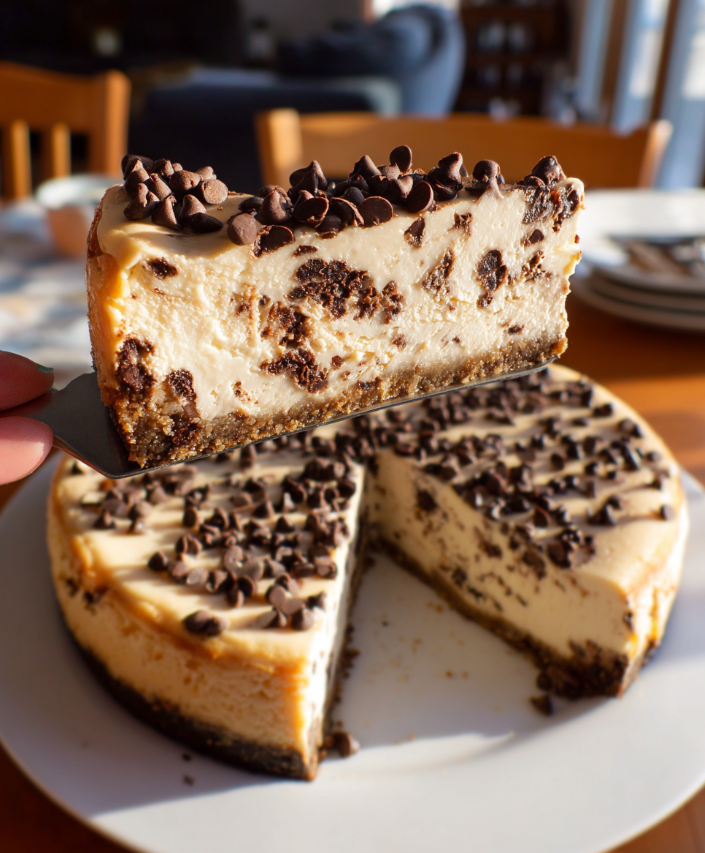
Step 4: Chill to perfection
Remove from oven, cool for 20 minutes on the counter, then refrigerate for at least 6 hours (overnight is best). It will firm up beautifully and taste even creamier the next day.
Tips & Tricks for the Perfect Protein Cheesecake
- Water Bath Magic: That pan of water adds moisture, keeping the texture silky and preventing dryness.
- Cool Slowly: Sudden temperature changes = cracks. Be patient during cooling.
- Texture Check: If it’s slightly jiggly in the center after baking, that’s perfect — it’ll set as it chills.
- Storage: Keep covered in the fridge up to 4 days or freeze slices up to 3 months. Thaw overnight before serving.
Protein Cheesecake Crust Options
1. Classic Graham Cracker Crust
- 2 cups graham cracker crumbs
- 6 tbsp softened butter (or vegan butter)
- 2 tbsp sugar or sweetener
Mix well, press firmly into pan, and chill 1 hour (no pre-bake needed).
2. Keto Almond Flour Crust
- 2 cups almond or pecan flour
- 6 tbsp melted coconut oil or butter
- ¼ tsp salt
Mix, press firmly, and refrigerate for 1 hour.
Advertisements
3. Simple No-Bake Crust Alternative
Skip the crust altogether and pour your batter into parchment-lined ramekins for individual cheesecake cups.
Protein Cheesecake Variations & Flavors
| Flavor | Adjustments | Toppings |
|---|---|---|
| Chocolate | Use chocolate protein powder | Shaved dark chocolate |
| Peanut Butter | Replace 1 cup yogurt with peanut butter | Crushed peanuts |
| Berry | Add 1 cup mixed berries or berry yogurt | Fresh berries or jam |
| Chai Spice | Add 1 tsp cinnamon, ¼ tsp ginger, cardamom, allspice | Whipped cream dusted with cinnamon |
| Key Lime | Use lime yogurt + lime juice | Lime zest curls |
No-Bake Protein Cheesecake Mousse
For a quicker, no-bake option:
Blend all filling ingredients until silky smooth.
Spoon into jars or ramekins and chill for 1 hour.
Top with fresh fruit, cocoa nibs, or coconut whipped cream.
Perfect for a single-serve protein dessert in under 10 minutes.
Storage & Meal Prep Tips
- Fridge: 3–4 days, tightly covered.
- Freezer: Up to 3 months — slice first, then freeze in airtight containers.
- Meal Prep Hack: Freeze individual slices and thaw one at a time for portion control.
FAQs About Protein Cheesecake
Can I use cottage cheese instead of yogurt?
You can, but it’ll create a slightly grainier texture. Blend well for smoothness.
What type of protein powder works best?
Whey or casein blend for creaminess; pea or soy protein for vegan options. Avoid powders with strong aftertastes.
Can I make this completely sugar-free?
Yes — use stevia, erythritol, or allulose. Adjust to taste, as sweetness varies by brand.
How do I keep the top from cracking?
Use the water bath, don’t overmix, and let it cool gradually.
Nutrition Information (Per Slice, Approximate)
| Nutrient | Amount |
|---|---|
| Calories | 200 |
| Protein | 22g |
| Carbs | 9g |
| Fat | 11g |
| Fiber | 1g |
| Sugar | 5g |
(Values may vary by protein powder and crust choice.)
Dessert Doesn’t Have to Be a Cheat Meal
There’s something deeply satisfying about a dessert that feels indulgent but fuels your body too. This Protein Cheesecake isn’t just a recipe, it’s a small rebellion against the idea that “healthy” has to mean “boring.”
Make it once, and it might just replace your post-workout shake.
Serve it chilled, share it proudly, and share t your masterpiece with us, so the world can see your version.
Because yes, you can have your cheesecake and eat it too.
Protein Cheesecake Recipe (High-Protein, Creamy & Guilt-Free)
Ingredients
- 24 oz cream cheese (regular or vegan alternative like Tofutti or Trader Joe’s)
- 2 cups Greek yogurt (or plant-based yogurt for dairy-free version)
- ½ cup protein powder (whey, casein, or vegan — vanilla or unflavored works best)
- ⅔ cup sweetener of choice (sugar, coconut sugar, maple syrup, or sugar-free substitute)
- 2½ tsp pure vanilla extract
- 2 tsp lemon juice (optional, for brightness)
- Crust of choice (see crust options below)
Flavor Add-In Ideas
- Chocolate: Use chocolate protein powder + mini chocolate chips
- Berry: Mix in strawberry or blueberry yogurt
- Peanut Butter: Swap 1 cup of yogurt for creamy peanut butter
- Key Lime: Use lime yogurt and fresh lime juice
- Coconut Cream: Add ½ cup shredded coconut
Instructions
- Prep the oven and crustPreheat your oven to 350°F (175°C). Fill any baking pan halfway with water and place it on the bottom rack — this creates steam to prevent cracking.Prepare your crust of choice in a 9-inch springform pan (see options below).
- Blend the fillingLet your cream cheese come to room temperature so it’s soft. In a food processor or high-speed blender, combine all ingredients until just smooth. Avoid overbeating — too much air can cause cracks later.
- Bake gentlyPour the filling into your prepared crust. Smooth the top.Place the cheesecake on the middle rack (above the water pan) and bake for 30 minutes.Then, turn off the oven but don’t open the door. Let it rest inside for 5 more minutes to cool gradually.
- Chill to perfectionRemove from oven, cool for 20 minutes on the counter, then refrigerate for at least 6 hours (overnight is best). It will firm up beautifully and taste even creamier the next day.
Advertisements